
Disclaimer: Some links are Amazon affiliate links. Purchases made through them help support the recipe testing, photos, and content I share — thank you!
Summary
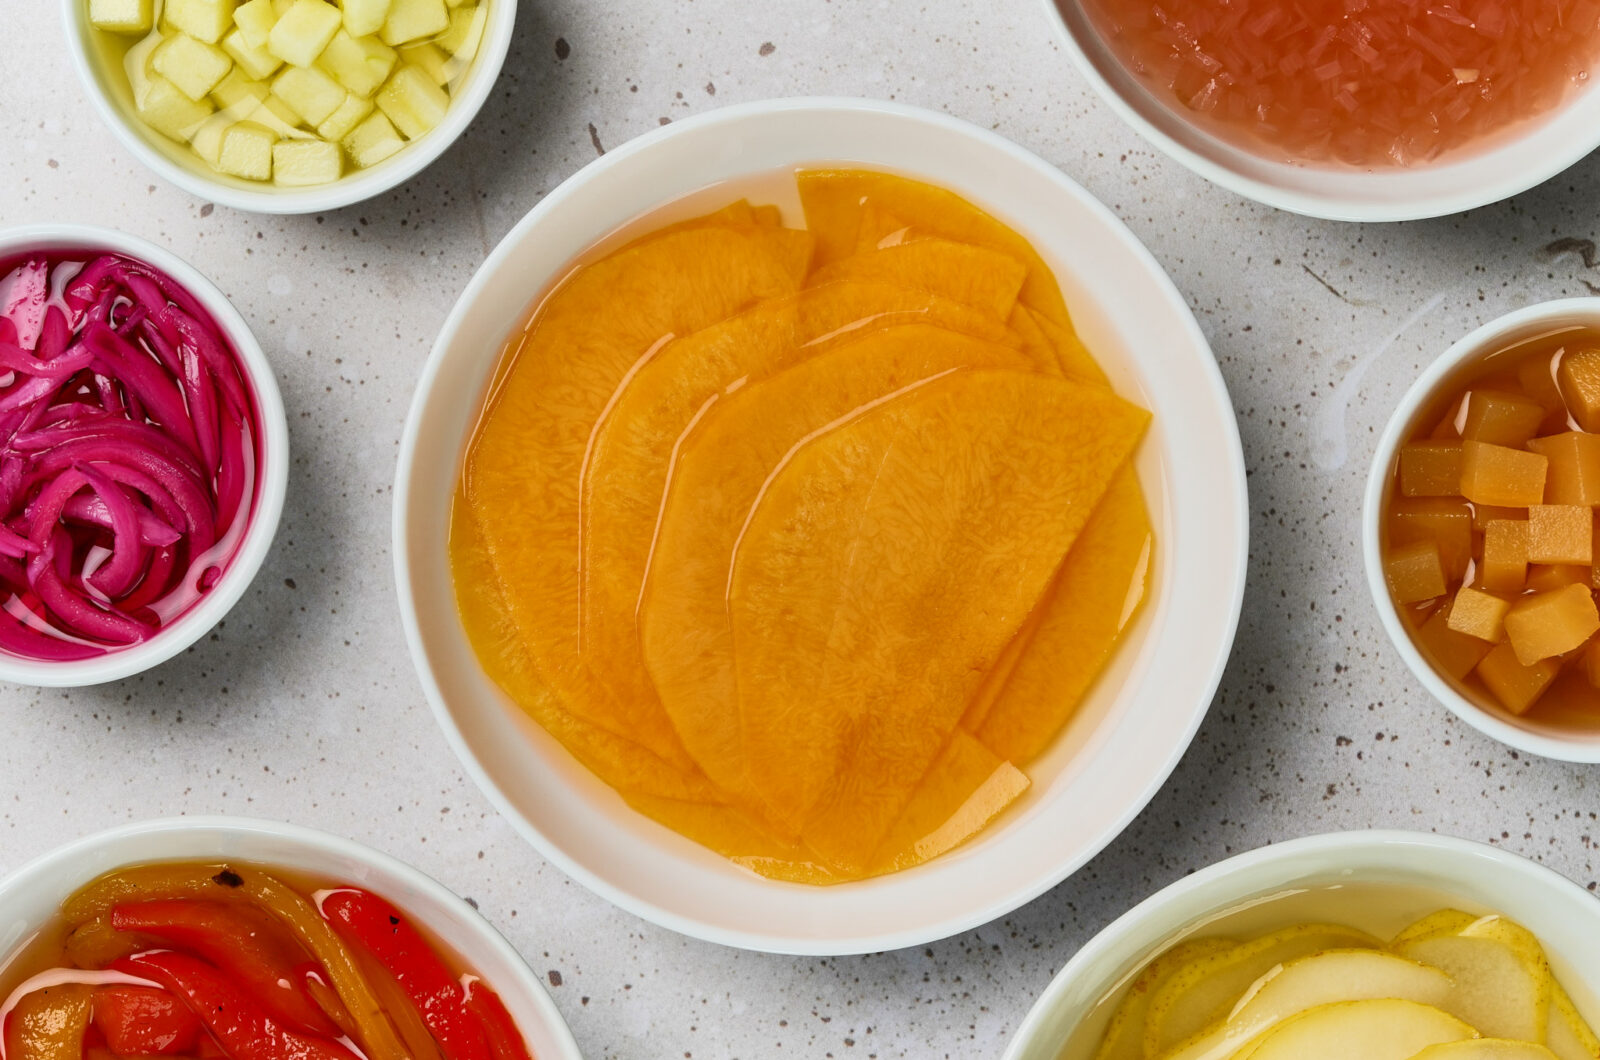
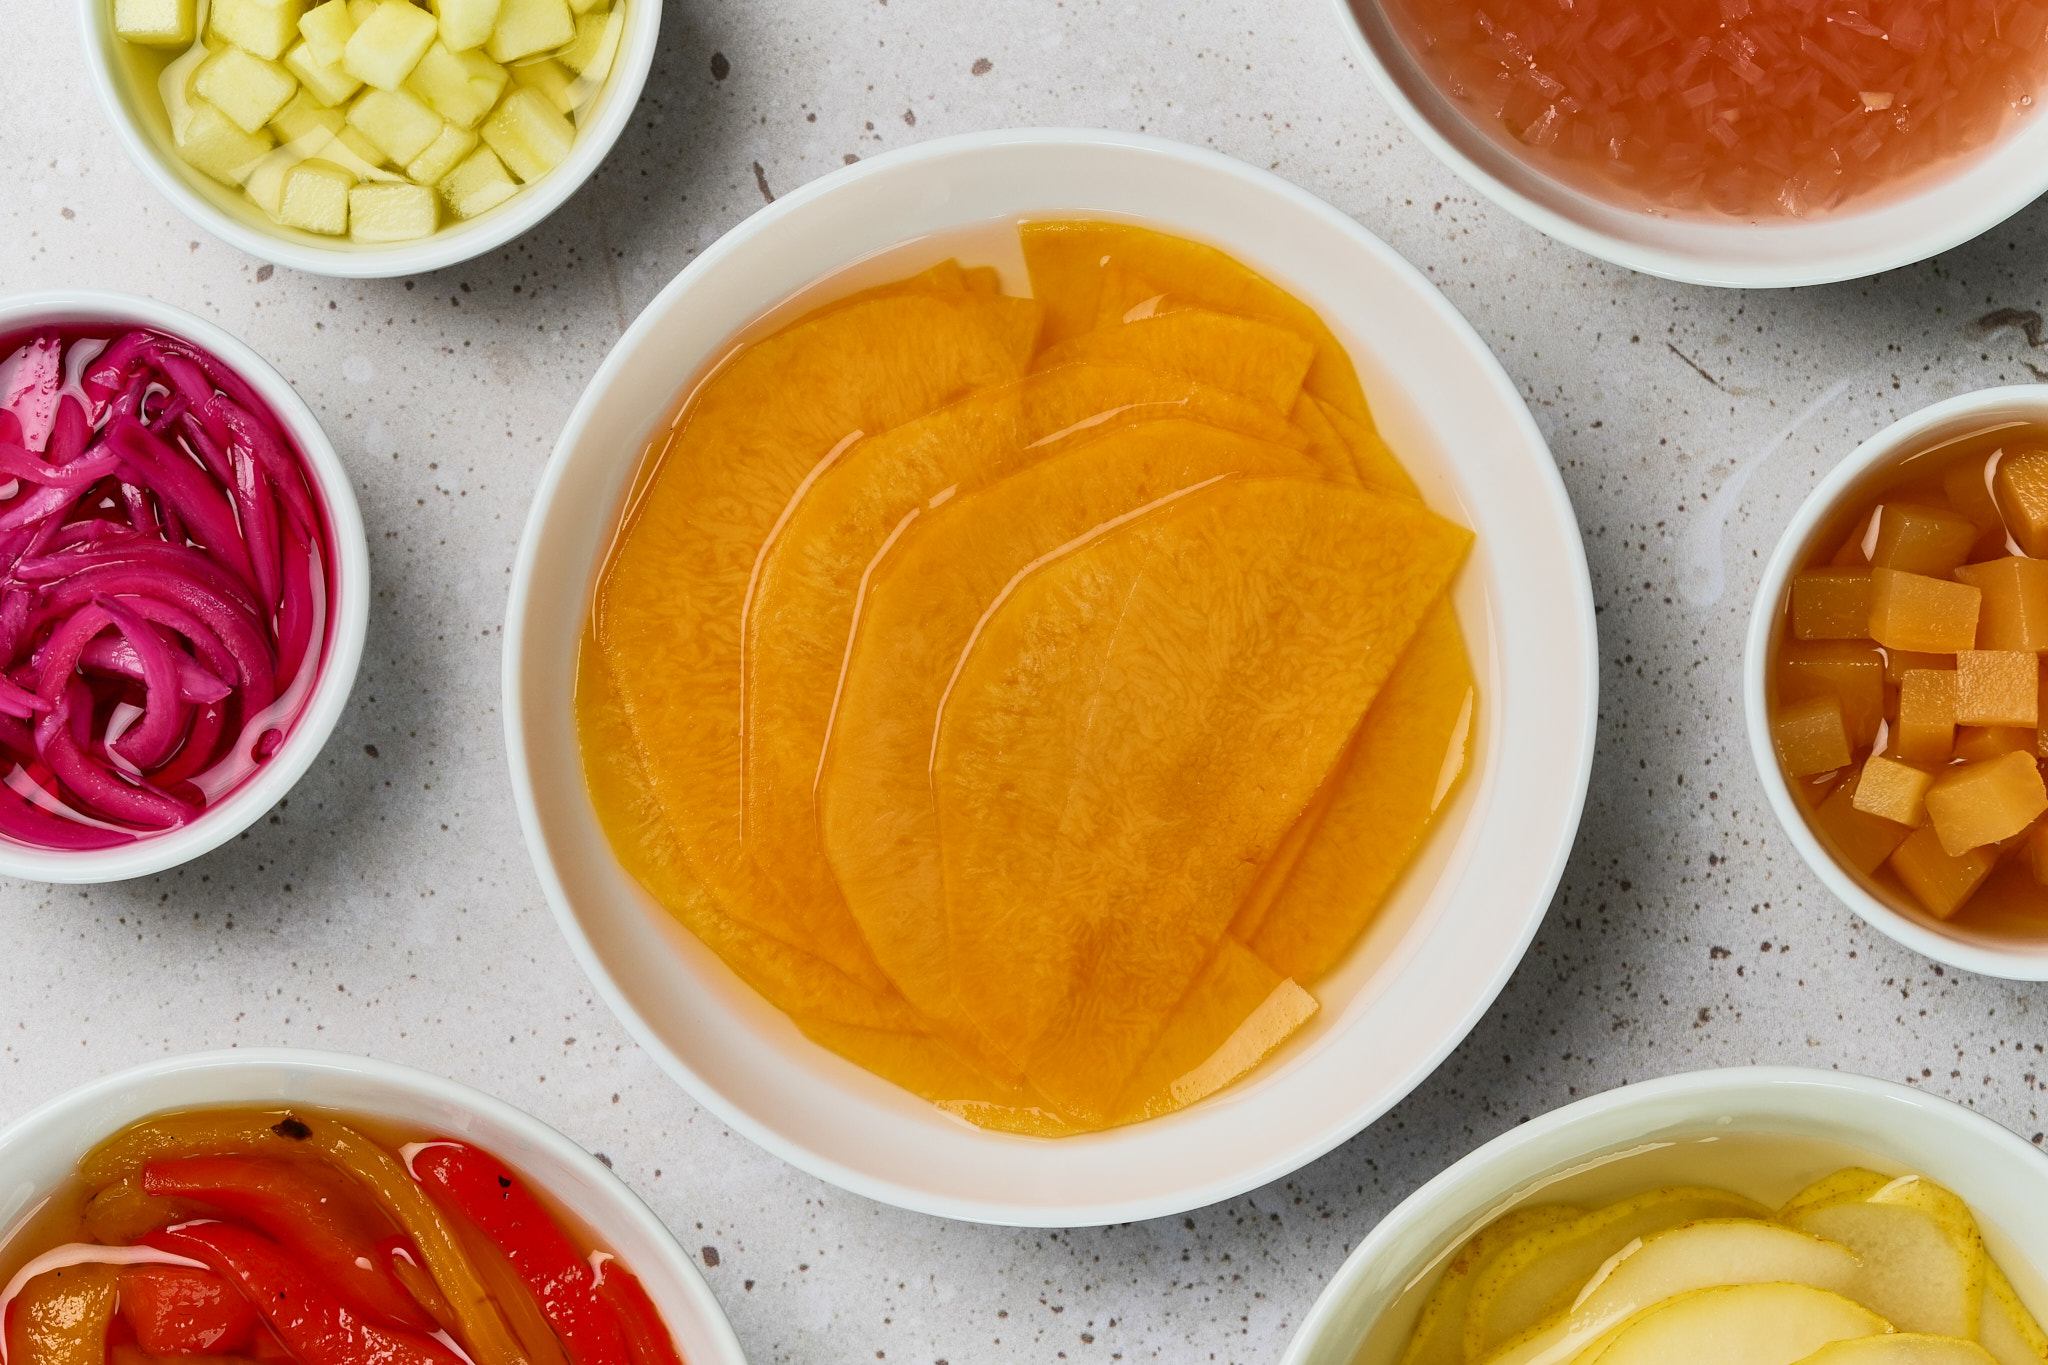
Paper-thin, tangy, and impossibly elegant.
This technique, inspired by three-Michelin-star Eleven Madison Park, transforms humble butternut squash into something restaurant-worthy. The quick steam-oven treatment removes the raw taste without softening the texture. This gives you bright, tangy squash with a silky, almost sashimi-like texture. Use them draped over salads, layered on a cheese board, wrapped around goat cheese, or anywhere you want a pop of acidity and color. They’re impressive, surprisingly easy, and way more interesting than another pickle spear.
4
20
minutes10
minutes35
kcal24
hours24
hours30
minutesPaper-thin, tangy, and impossibly elegant.
Ingredients
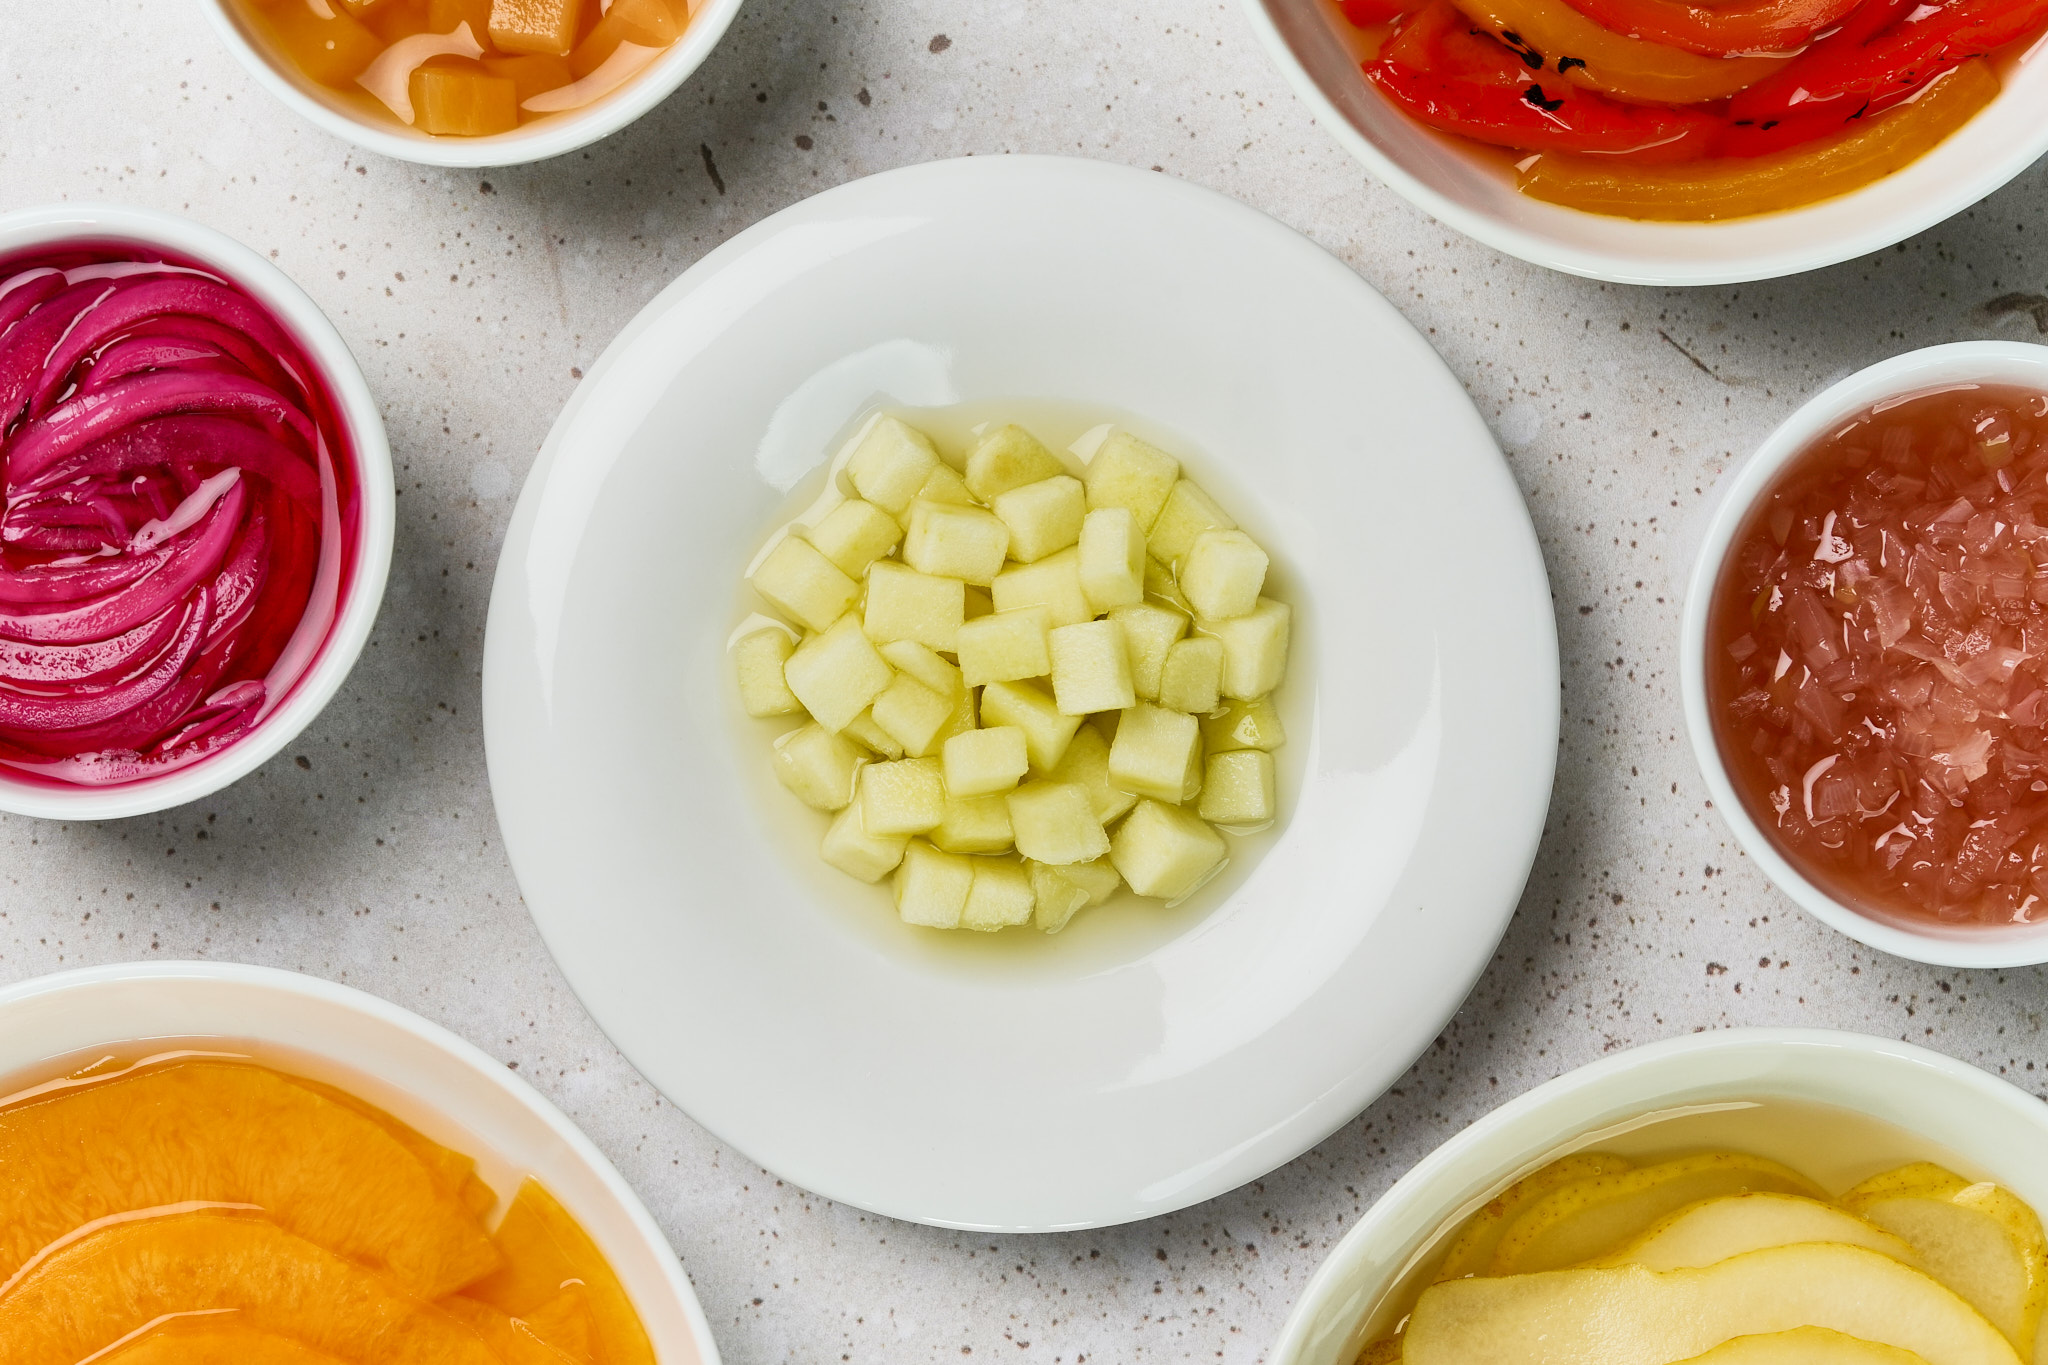
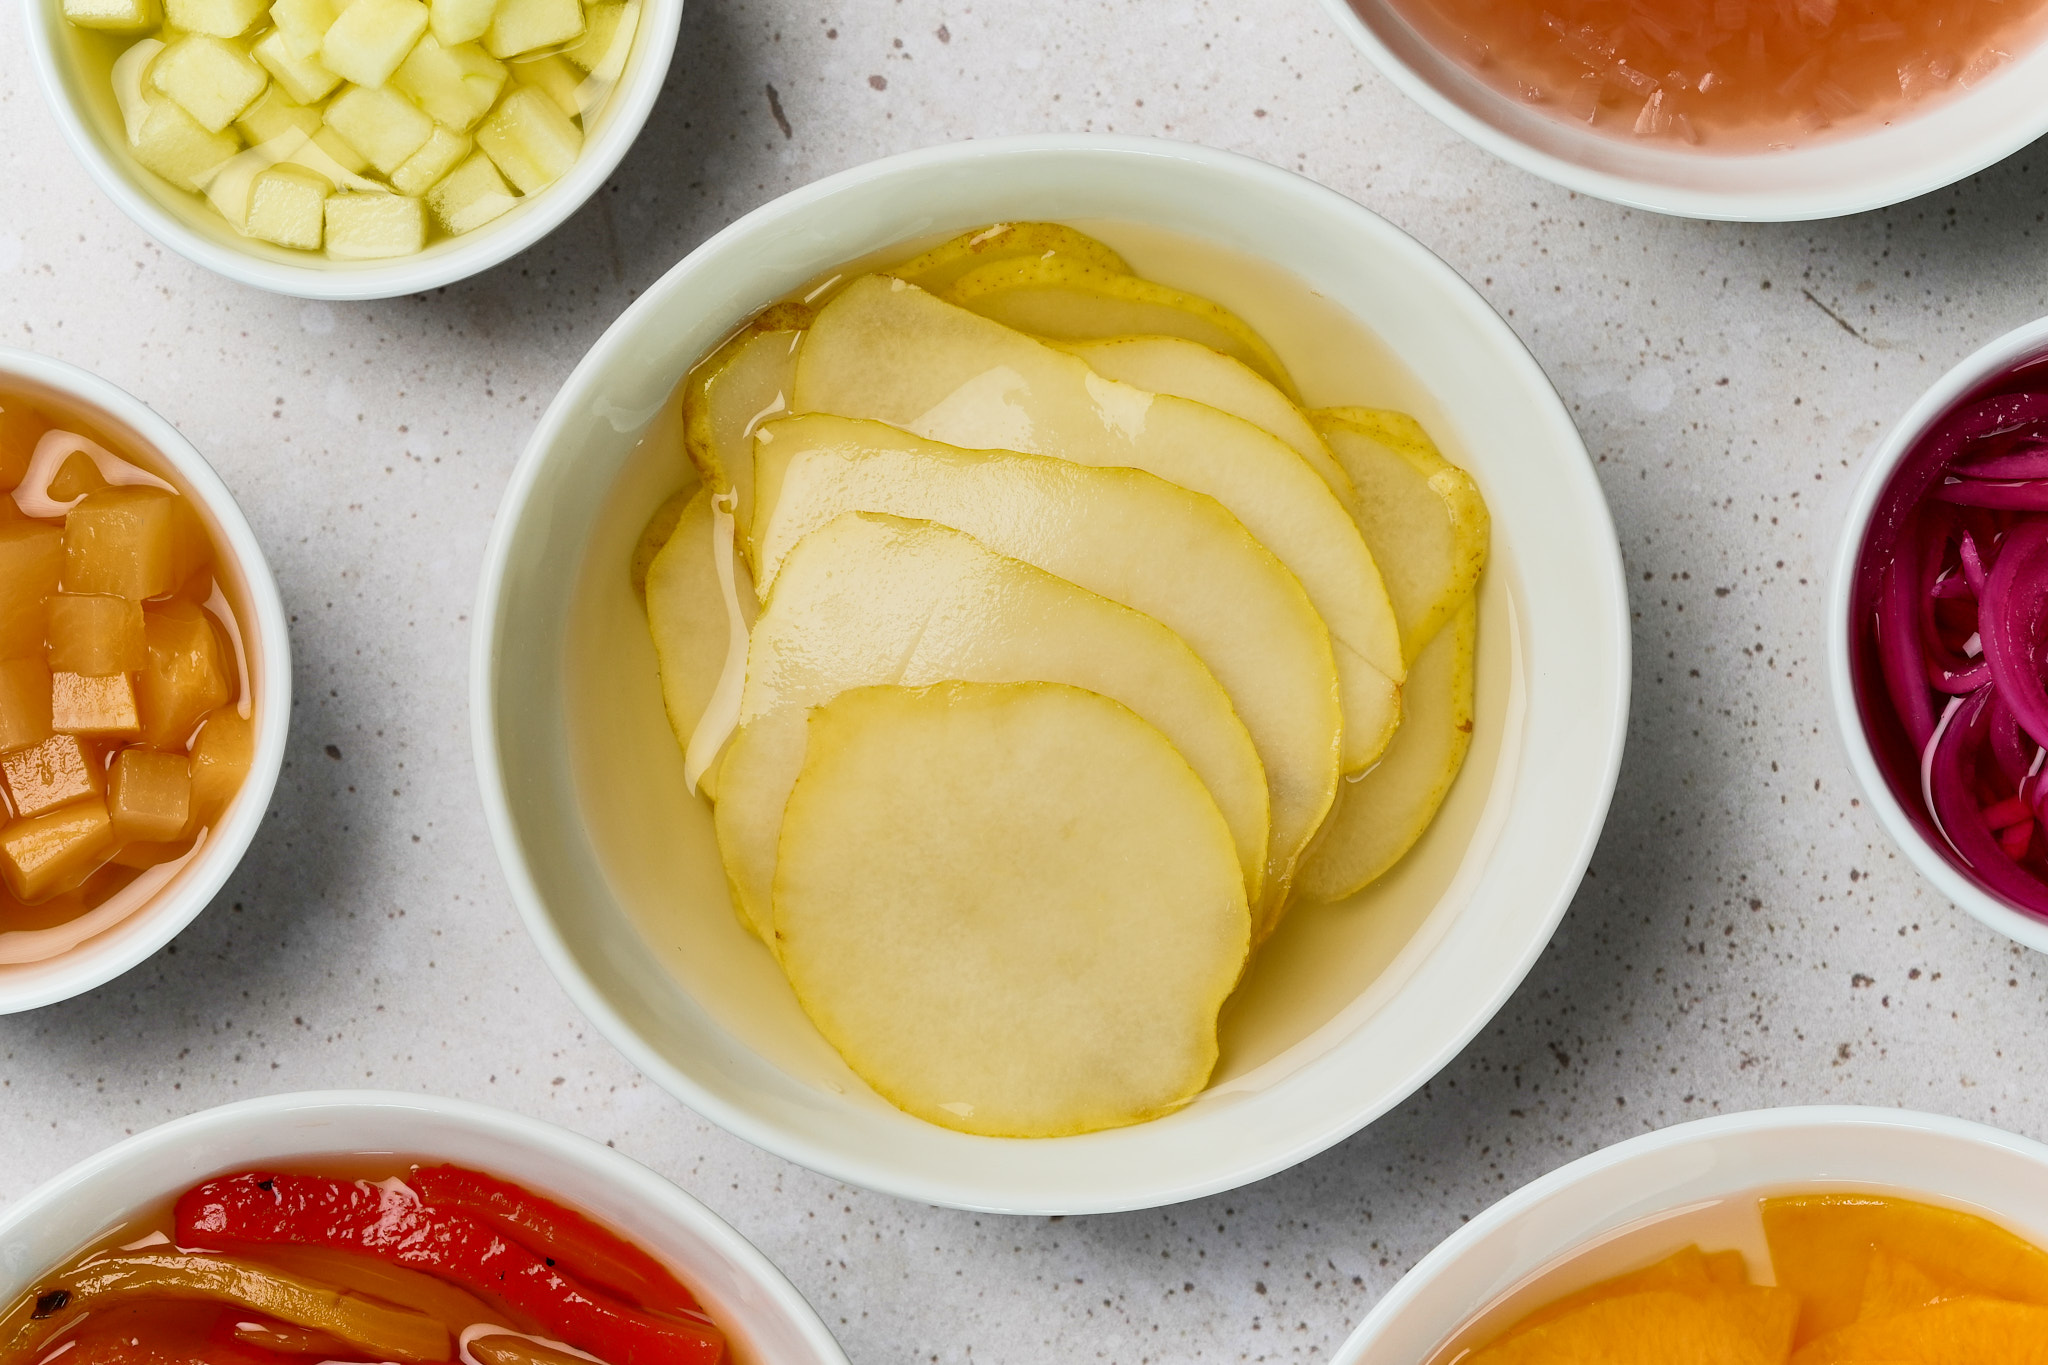
200 g ~1½ cups thinly sliced butternut squash, from the top neck portion of 1 squash
158 g ~⅔ cup white balsamic vinegar
63 g ~5 Tbsp sugar or allulose (see Before We Start)
63 g ~¼ cup water
16 g ~2 tsp salt
Equipment
Directions
Before We Start
Why the Top Half? The neck portion of a butternut squash is solid flesh all the way through — no seed cavity to work around. This gives you uniform slices that pickle evenly. Save the bulbous bottom half for roasting, soup, or another use.
Sugar vs. Allulose: Regular granulated sugar works perfectly and dissolves easily. Allulose is a good low-glycemic alternative that dissolves similarly and won’t crystallize in the fridge. The flavor is nearly identical — allulose is just slightly less sweet. Use whichever fits your dietary preference. Just replace 1 part sugar with 1.5 part allulose.Make the Pickling Liquid
For the pickling liquid:
158 g | ~⅔ cup white balsamic vinegar
63 g | ~5 Tbsp sugar or allulose
63 g | ~¼ cup water
16 g | ~2 tsp salt
In a large bowl, combine the white balsamic vinegar, sugar (or allulose), water, and salt. Whisk vigorously for 3–4 minutes until the sugar and salt are fully dissolved.
The liquid should not have salt or sugar granules remaining at the bottom.
Batch the Brine: You can make the pickling liquid in larger amounts to use when you need it. It also stores in a sealed container in the fridge for up to 3 months. It works great for quick-pickling onions, cucumbers, radishes, and many other vegetables you want to brighten up.
Slice the Squash
Cut the top half (neck portion) off the butternut squash, removing the stem. Using a vegetable peeler, peel the squash, going over it several times to fully remove the tough outer layer until you reach the bright orange flesh beneath. Cut the neck in half lengthwise. Using a mandoline or very sharp knife, slice into 1mm thin slices. You want them paper-thin and uniform.
Steamify Your Oven
Place one half sheet pan on the bottom rack of your oven while it preheats to 200°F (or as low as your oven will go). Once preheated, carefully pour 1 cup of hot water into the sheet pan and close the oven door. Let the steam saturate the oven for 8–10 minutes.Steam the Squash
Line a second half sheet pan with parchment paper. Lay the butternut squash slices in a single layer — don’t overlap them. Place a wire cooling rack on top of the slices to keep them from curling. Place in the steamy oven and cook for just 1 minute. Yes, one minute. You want them barely softened, not cooked through.
Remove and repeat with remaining slices in batches until you’ve processed 200 g of squash. You’ll likely have leftover raw squash — save it for another use.
Combine and Compress
Pour 300 g of the pickling liquid over the squash, making sure the slices are submerged. Place in the fridge over night and enjoy. The flavor will continue to develop over the next 2–3 days.
You May Like These Recipes Too
Additional Details About This Recipe
How long do they last?
Stored fully submerged in brine in a sealed container, the pickled squash will keep in the fridge for 2–3 weeks.
Why steam the squash first?
The brief steam softens the cell structure just enough to allow the brine to penetrate evenly without turning the squash mushy. Raw squash would take much longer to pickle and stay too firm; cooked squash would fall apart.
What can I use these on?
Draped over salads, layered on cheese boards, wrapped around soft cheese, as a garnish for fall soups, on grain bowls, or as a unique taco topping.
Can I use a different squash?
Butternut works best because of its dense, smooth flesh. Acorn or delicata would be too watery. Kabocha could work but is harder to peel and slice thinly.
Can I reuse the brine?
You can reuse it once for another batch of vegetables, but the flavor will be diluted. After that, discard it.
Nutritional Facts (per serving, ~50 g / about ¼ cup)
(Values are estimates. Using allulose reduces carbs and sugars significantly.)
- Calories: ~35 kcal
- Protein: ~0.5 g
- Fat: ~0 g
- Carbohydrates: ~8 g
- Sugars: ~5 g
- Fiber: ~1 g
- Sodium: ~320 mg