
Disclaimer: Some links are Amazon affiliate links. Purchases made through them help support the recipe testing, photos, and content I share — thank you!
Summary
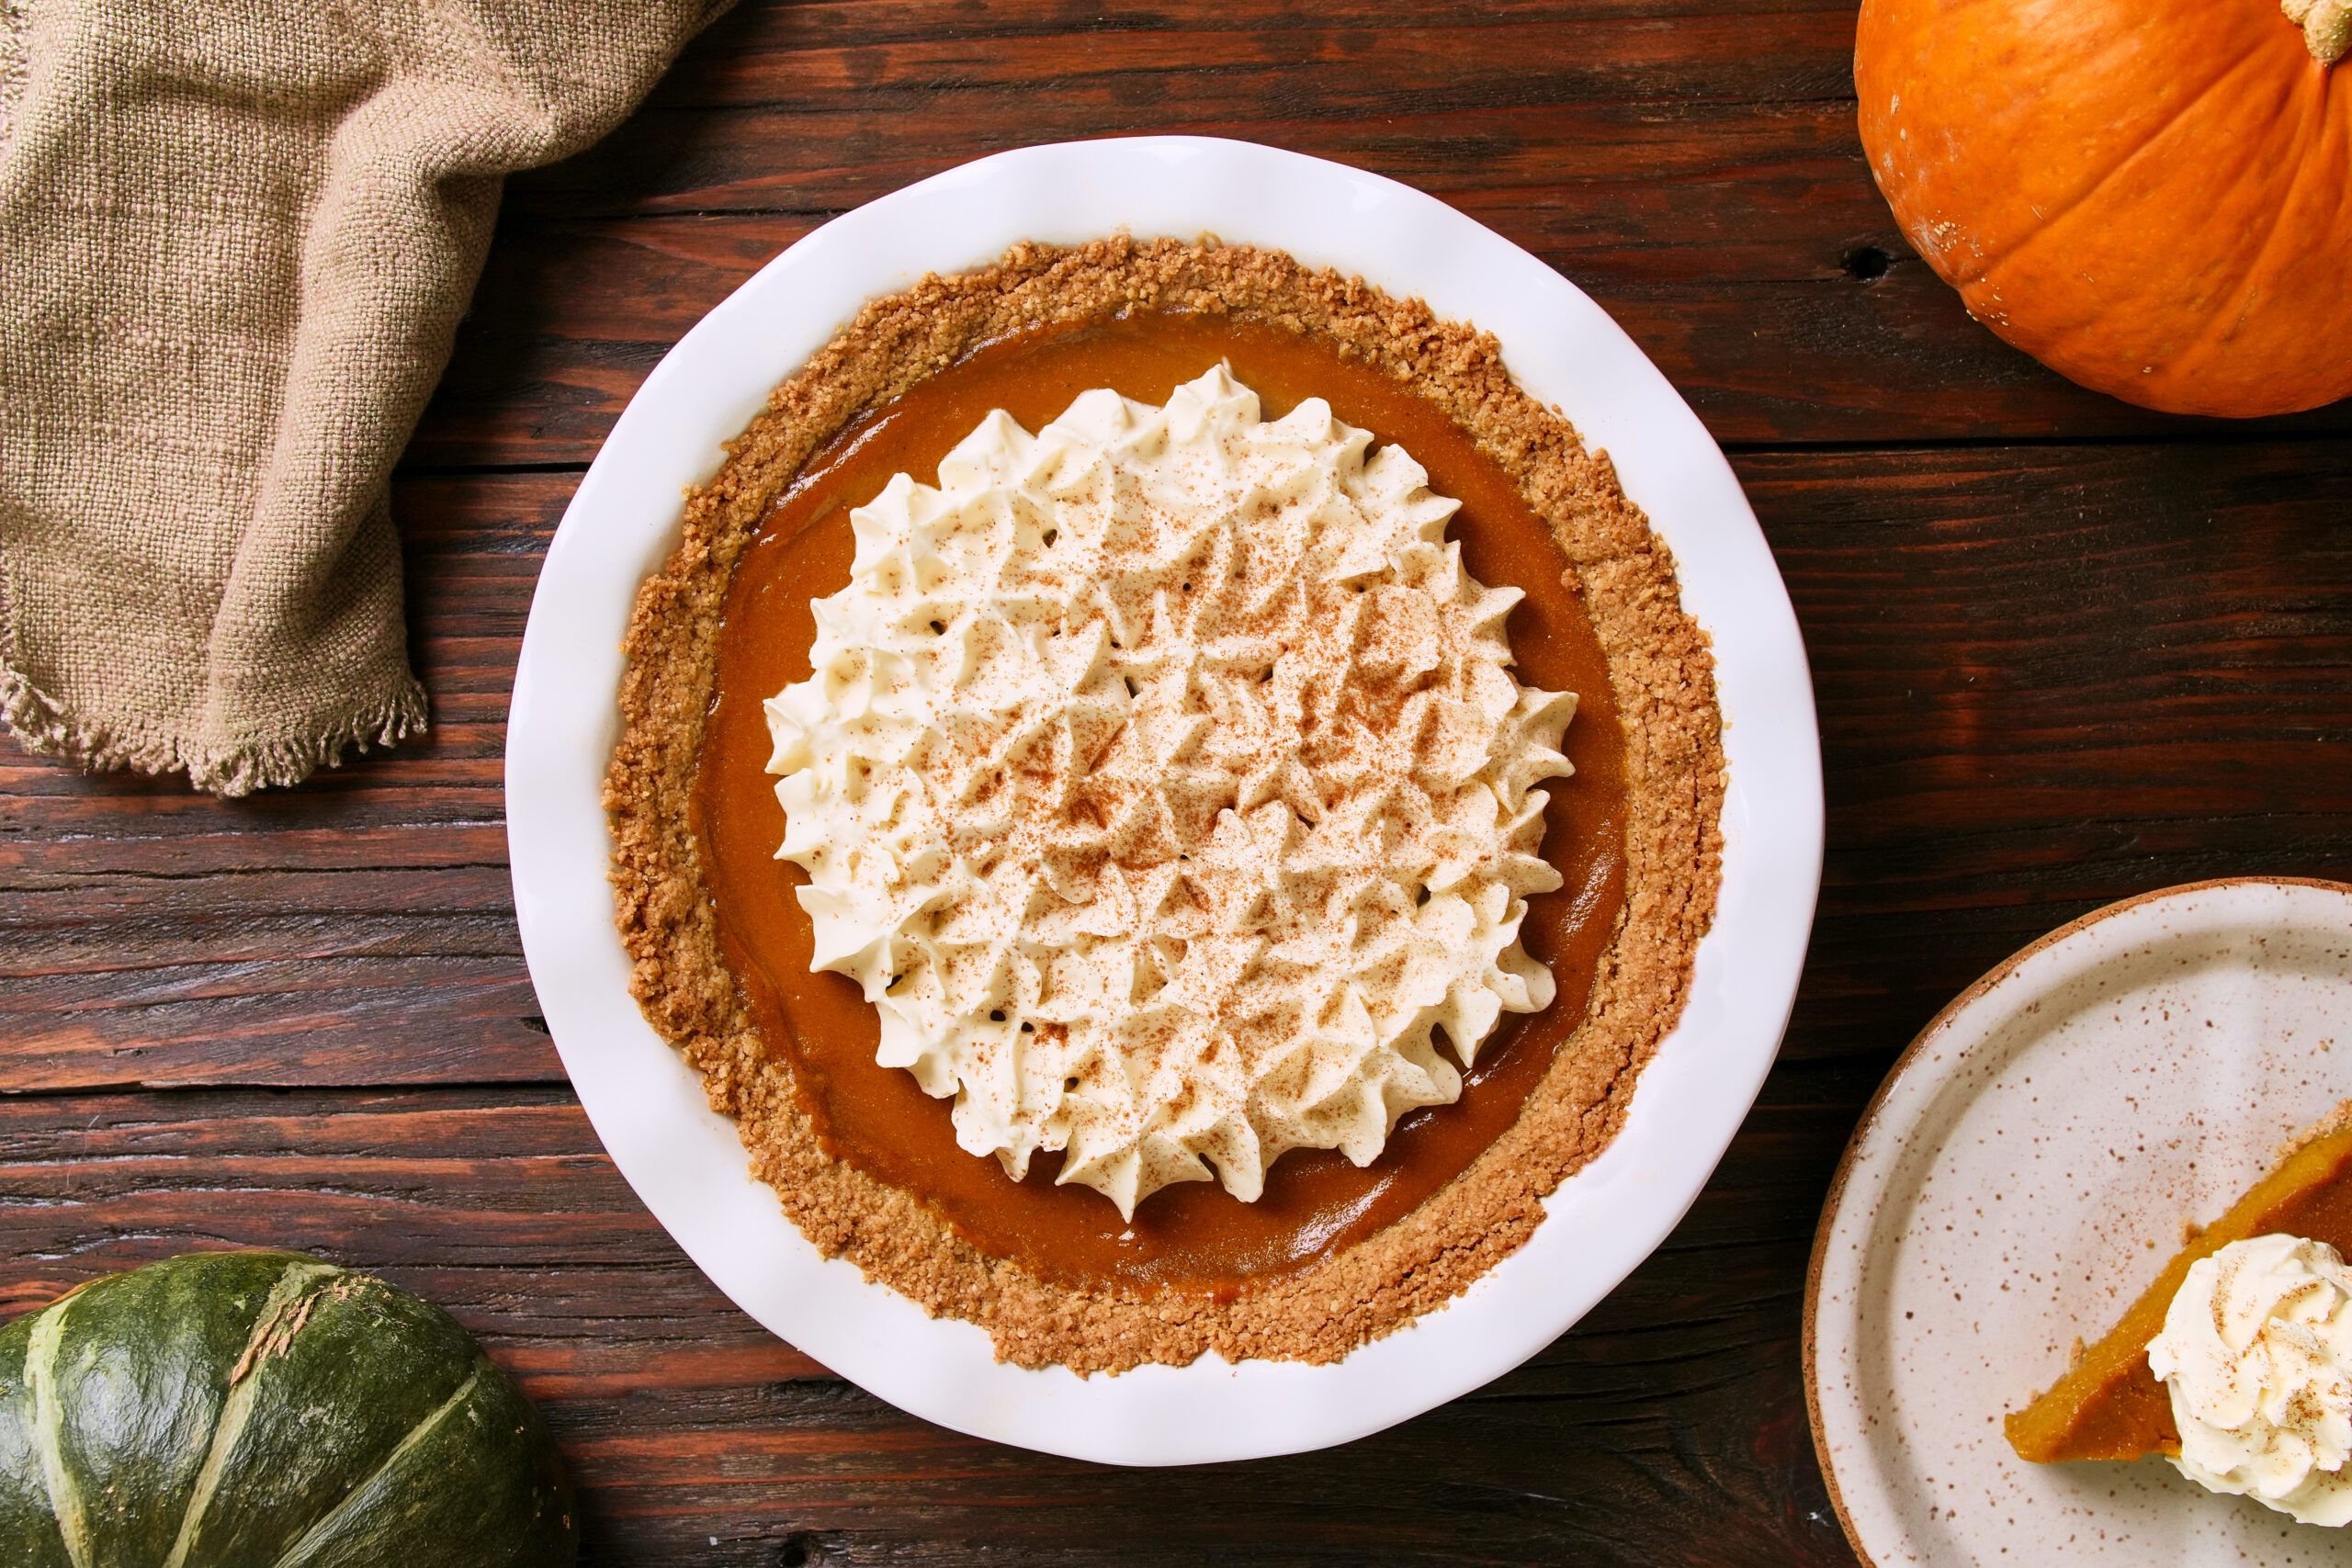
This is not your grandma’s pumpkin pie — it’s the ultimate version.
This recipe was inspired by Chistina Tosi’s famous Milk Bar’s Pie, but heavily adapted to make it a pumpkin pie you wont forget. A rich, smooth, fudge-textured custard made from roasted kabocha pumpkin (squash), maple syrup, warm spice, and a browned-butter cookie crust. It tastes like fall and nostalgia, but much much much better than you remember. We are warning you, don’t take this to Thanksgiving, because the grandmas are going to be low key jealous of what you made.

Ultimate Pumpkin Pie with Browned-Butter Cookie Crust
2
Pies1
hour30
minutes45
minutes195
kcal5
Hours7
hoursNot your grandma’s pumpkin pie, we promise. This kabocha-and-maple custard bakes up ultra-smooth and almost fudge-like inside a browned-butter cookie crust, perfumed with warm spice. It’s fall nostalgia turned luxe, the slice everyone “just a sliver”s… then immediately asks for seconds.
Ingredients
970 g ~1 medium kabocha squash or pumpkin puree (See Before We Begin)
15 g 1 tbsp avocado oil or neutral oil
11 g 2 1/4 tsp kosher salt, divided
150 g 10 1/2 tbsp unsalted butter, room temperature
297 g 21 tbsp unsalted butter, divided
83 g 7 tbsp light brown sugar, lightly packed, divided
50 g 1/4 cup granulated sugar
168 g 9 1/3 large egg yolks, divided
98 g 2/3 cup all-purpose flour
155 g 1 1/3 cups rolled oats
0.75 g 3/16 tsp baking powder
0.75 g 1/8 tsp baking soda
185 g 3/4 cup heavy cream
112 g 1/2 cup + 1 tbsp dark brown sugar, lightly packed
78 g 1/4 cup pure maple syrup
20 g 1/4 cup milk powder
2 g 1/2 tsp vanilla extract
5.3 g 2.5 tsp ground cinnamon
1 g 1/2 tsp ground ginger
1.8 g 1/2 tsp ground nutmeg
0.5 g 1/4 tsp ground clove
Equipment
Directions
Before We Start
Alternatives to Kabocha: The pumpkin we selected here is for great flavor and a dense texture. If you can’t find it you can do buttercup pumpkin or Sugar Pie Pumpkin or even a can of pumpkin puree if that is all you can find. If going canned, skip step 1. These alternatives have more moisture than kabocha, it will taste great as is, but to maintain the fudge like texture, add the puree to a 12in pan for about 8 minutes on medium heat to cook out some of the moisture.
Freeze before serving: Freezing condenses the custard and locks in that silky-dense chew Milk Bar pies are known for. Don’t skip this! We typically make this the day before and put it in the freezer, then thaw it out in the fridge or on the counter the next day when we are ready to enjoy it.Roast the Kabocha
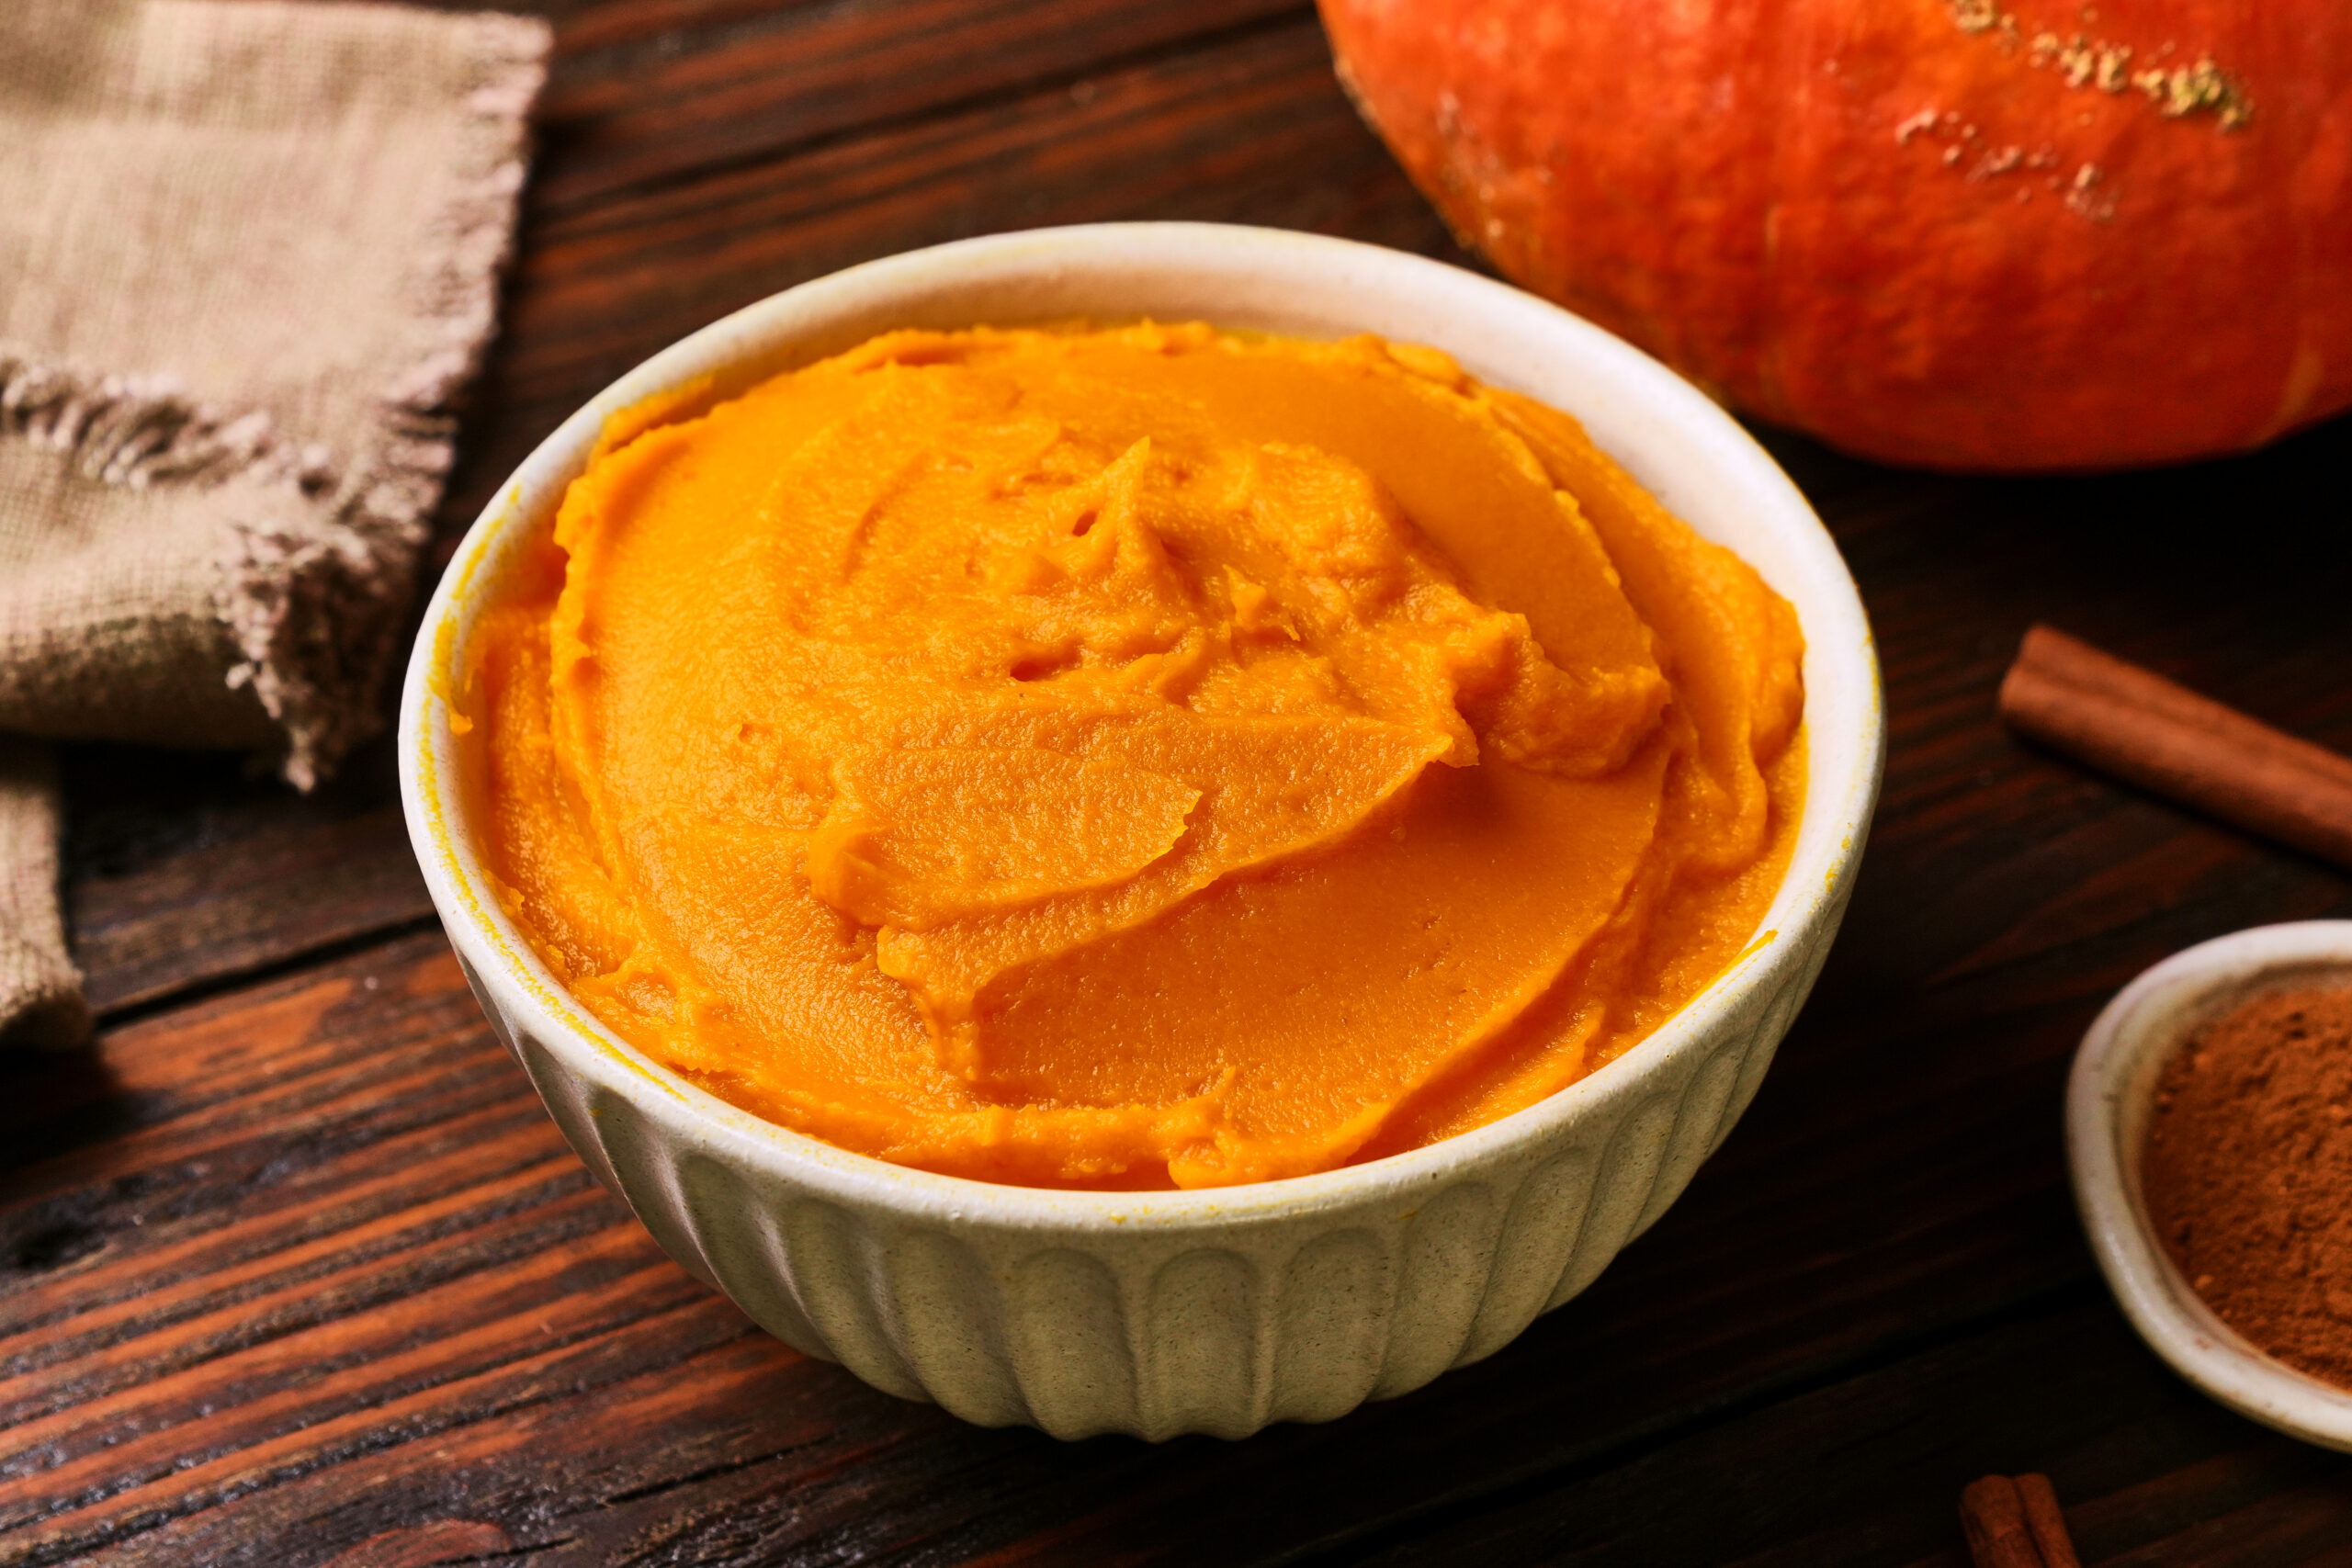
For the Roasted Kabocha Purée
970 g | ~1 medium kabocha squash (yields ~450 g purée)
15 g | 1 tbsp avocado oil or neutral oil
2 g | 3/8 tsp kosher salt
See detailed Pumpkin (Kabocha) Puree recipe.
Preheat oven to 400°F (200°C). Halve the kabocha, scoop out seeds, and rub the cut sides with oil and salt.
Place cut-side down on a lined baking sheet and roast 45 minutes until fork-tender and caramelized at the edges. Then flip them over and bake another 15 minutes for a total of 1 hour and up to 1 hour and 20 minutes.
Scoop out the flesh and measure out 480 g for the filling. Let cool.
NOTE: Pumpkins even in the same variety have very different moisture levels and can take more or less time. You are looking for browning and darkening of the flesh and for it to be tender and easy to scoop out all the way through.Make the Oat Cookie Crust
For the Brown Butter Oat Cookie Crust Base
150 g | 10 ½ tbsp unsalted butter, room temperature
75 g | 1/3 cup + 1 tbsp light brown sugar, lightly packed
50 g | 1/4 cup granulated sugar
23 g | 1 1/3 large egg yolks*
98 g | ⅔ cup all-purpose flour
155 g | 1 ⅓ cups rolled oats
0.75 g | 3/16 tsp baking powder
0.75 g | ⅛ tsp baking soda
3 g | 5/8 tsp kosher salt
Reduce oven to 350°F (175°C).
In a stand mixer with the paddle attachment, add room temperature butter, brown sugar, and sugar for 2–3 minutes until fluffy. Scrape sides then, add the egg yolk and mix until smooth.
Add flour, oats, baking powder, baking soda, and salt. I recommend adding it straight to the mixer bowl to save on dishes and just give those dry ingredients a light mix with a spoon on top before turning on the mixer. Turn on the mixer to medium speed for about 20-30 seconds on medium speed. You may need to stop it and scrape the sides of the bowl then go for another 10 seconds.
Spread the batter about ¼ inch thick on a baking sheet lined with parchment paper or a silicone mat. I find using the back of a lightly greased silicon spatula (turner) is the best tool for the job. It allows you to press the mixture firmly and evenly without getting overly stuck to it. User your hands to shape and smooth out the mixture. You are looking for a rectangle shape.
Bake 15 minutes until golden and let cool completely.Melt Butter
In a small sauce pan add 16 tbsp of butter on med-low heat. Melt the butter then transfer to a medium sized bowl. Scraping out any remaining butter with a rubber spatula.
Add the remaining 5 tbsp of butter to the same pot at med-low heat until melted and bubbling about 3-4 mins. Scrap the sides of the pot with a silicone spatula to prevent burning. Lower the heat to low-high and continue to cook for another 3-5 minutes until the butter has turned an amber browned color and has a nutty aroma. Ensure you frequently stir it to prevent the milk solids from burning on the bottom of the pan and watch it like a hawk. That stuff goes from nutty to burned in seconds.
Note: If you burned your butter, it is not the end of the world assuming it’s just slightly burned. To fix it, just transfer the melted butter to another bowl being careful not to bring with it any of the burned bits at the bottom. You can also use cheese cloth to help remove the solid bits from the melted butter if needed.Make the Crust
Break the cooled oat cookie into pieces and pulse in a food processor with an additional 1 tbsp of brown sugar until it is all just fine crumbs about 1-2 minutes.
Add all the 5 tbsp of melted brown butter and mix until it resembles wet sand. If it doesn’t hold it’s shape when squeezing, add a few teaspoons of water until it does.
Transfer half the mixture into a 10-inch glass or ceramic pie pan and press firmly covering bottom and sides evenly. You are looking for somewhere between an 1/8in and 1/4in thickness. It generally doesn’t go over the lip of the pie pan but right up to it. Repeat with the remaining mixture in another pie pan
Chill the pie crusts in the fridge for at least 10 minutes.Prepare the Pumpkin Custard Filling
For The Custard Filling
450 g | 2 cups roasted kabocha (from above) or pumpkin purée
225 g | 16 tbsp unsalted butter*
185 g | ¾ cup heavy cream
112 g | 1/2 cup + 1 tbsp dark brown sugar, lightly packed
78 g | ¼ cup pure maple syrup
20 g | ¼ cup milk powder
6 g | 1 1/4 tsp kosher salt
2 g | ½ tsp vanilla extract
145 g | 8 large egg yolks*
5.3 g | 2.5 tsp ground cinnamon
1 g | ½ tsp ground ginger
1.8 g | 1/2 tsp ground nutmeg
0.5 g | 1/4 tsp ground clove
In a blender, add the roasted kabocha pulp (450 g for 2 pies/1 recipe), brown sugar, maple syrup, milk powder, salt, vanilla, and all the spices until smooth.
Add in the melted regular butter from earlier and blend until incorporated. If it started to cool and solidify again, you may want to heat it back up gently.
Note: If you are having issues getting it to blend, add the melted butter and agitate it with a spatula. The extra liquid and agitation will help get the blender going.
Transfer to a large bowl and hand whisk or fold in the heavy cream until fully incorporated then add egg yolks and whisk gently until smooth and glossy. Don’t over whisk or aerate it at this point. We want a smooth thick custard.
Note: If your custard looks like it curdled. You may have added the butter at the wrong time and caused it to break the emulsion. To fix, heat an inch of water in a medium sauce pan on medium heat, and put a bowl on top with the custard. Constantly fold the custard with spatula until the butter has melted and emulsified again. This has the added benefit of the custard being hot enough to have a very flat and smooth top to your pie.Assemble the Pie
Pour half the filling into the first pie crust and repeat with the other pie. There should be some space between the filling and the top of the pie crust. The crust will start to shrink as it bakes.Bake the Pie
Ensure the oven is set to 350°F (175°C).
Place the pies pans directly on the middle rack of the oven
Bake for 15 minutes, open the oven door for 15 seconds, then lower to 325°F (160°C) and bake another 8-14 minutes. Until edges are set and center is still slightly jiggly. We found 10 minutes for the second part of the bake to be the best timing in our oven.
Once baked, cool on a rack to room temperature.Freeze and Serve
Once cooled, freeze for at least 2 hours or overnight. Then thaw on the counter or in the fridge when you are ready to enjoy it.
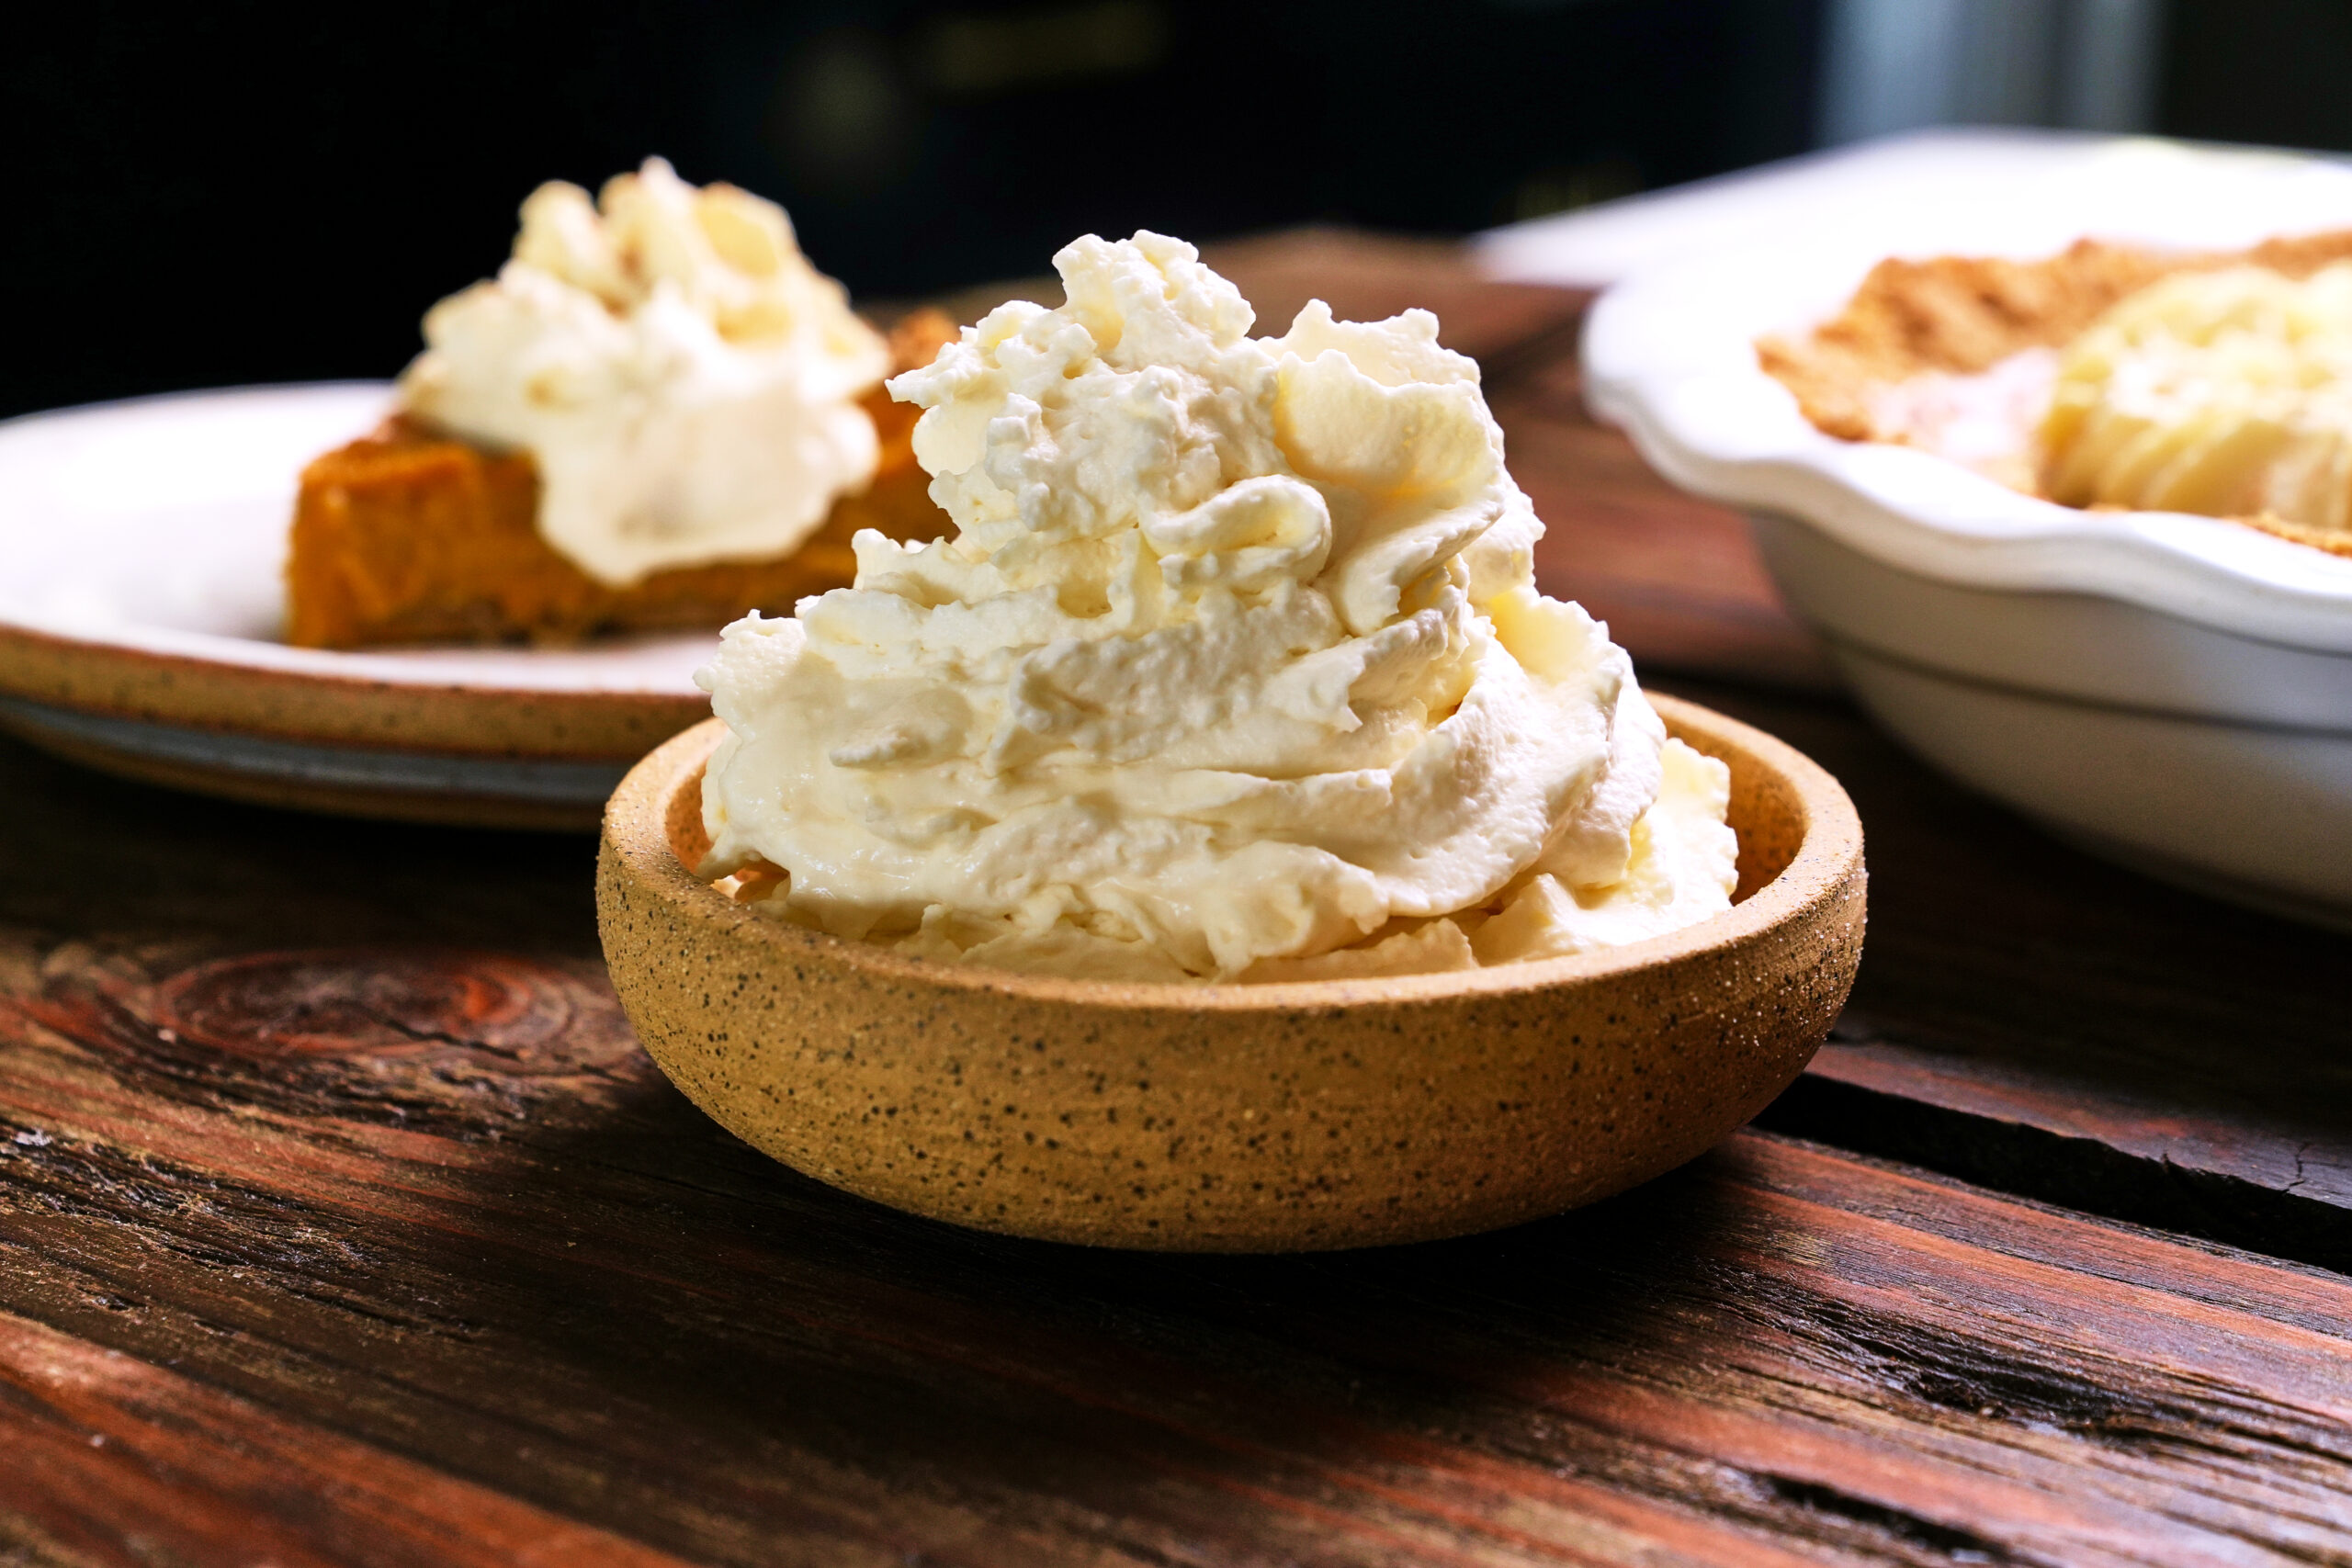
It is best cold, so serve chilled with whipped cream and dusting of pumpkin pie spice on top.
Enjoy, but be ready to ruin pumpkin pie for everyone at Thanksgiving though. They won’t want anything else after they try it.
You May Like These Recipes Too
Additional Details About This Recipe
Why use kabocha instead of pumpkin?
Kabocha is denser with less moisture than canned pumpkin, giving the filling a luxurious, almost caramel-like body without added thickeners.
Can I skip the milk powder?
No — it’s what gives the filling its glossy, fudge-like chew. It binds the fat and sugar together like a caramel base.
Do I need to freeze it?
Yes! The freezer step isn’t optional. It’s how you get that signature texture that slices clean and tastes rich but never cloying.
Can I use a different crust?
Why would you do that?! The crust is amazing, just make it.
Nutritional Facts
(Per 1 of 16 slices)
- Calories: 440
- Protein: 5 g
- Fat: 32 g
- Carbohydrates: 33 g
- Sugar: 20 g
- Fiber: 2 g
- Sodium: 310 mg