
Disclaimer: Some links are Amazon affiliate links. Purchases made through them help support the recipe testing, photos, and content I share — thank you!
Summary
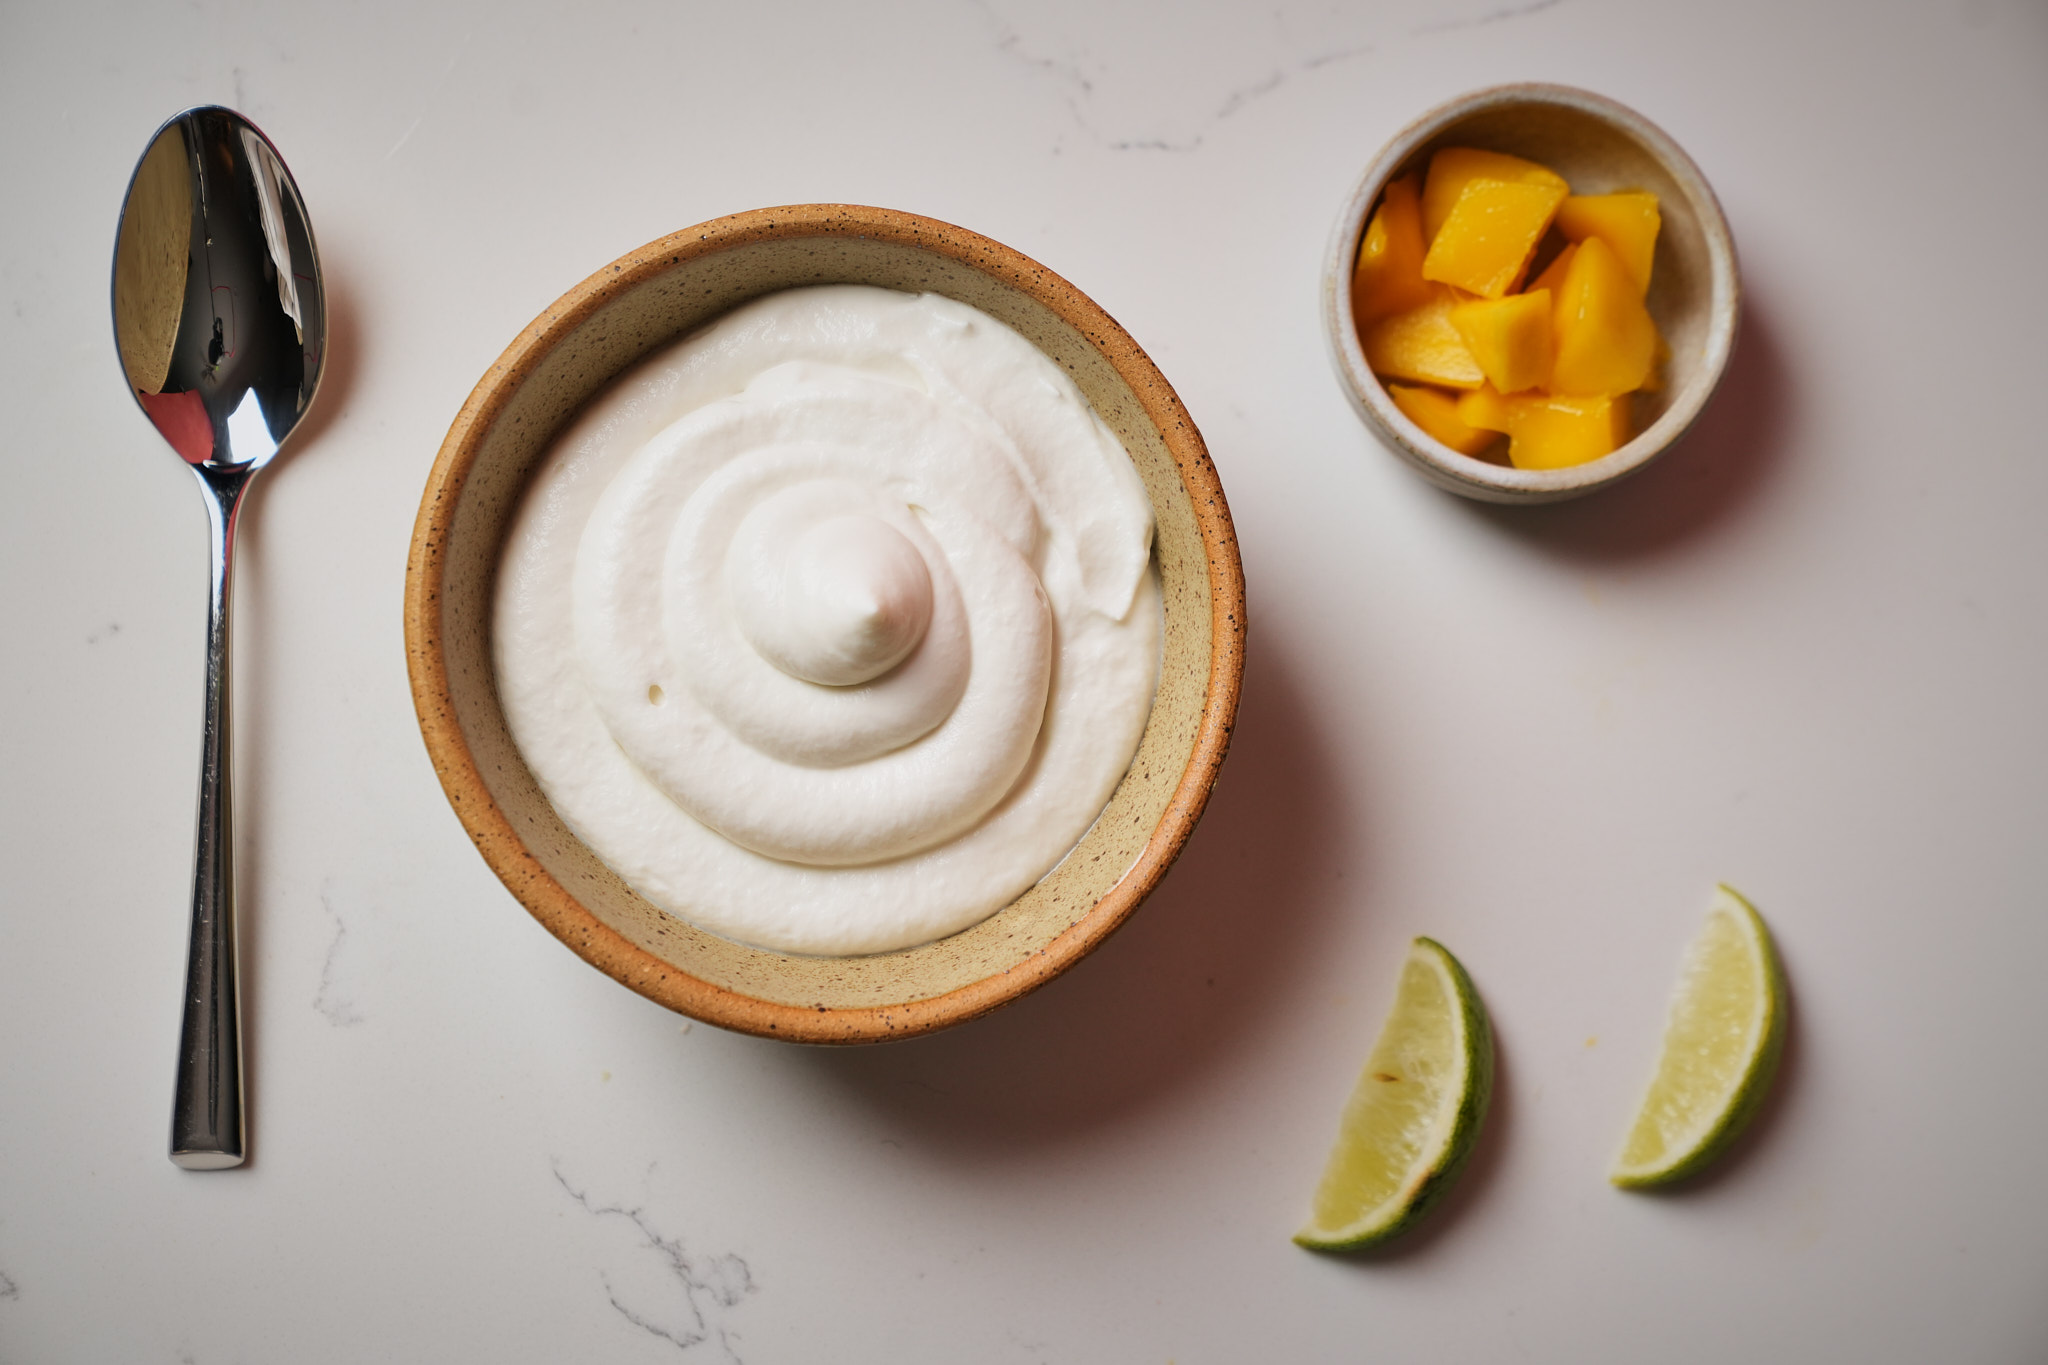
Tangy, Thick, and Velvety Greek Yogurt for Every Fermentation Method
If you’ve ever had homemade Greek yogurt, you already know it’s miles beyond store-bought. We modify this process to improve the overall yield and make a more velvety texture by adding tapioca starch to the process. We have provided several methods for the fermentation process for you to choose from, so you can follow along no matter which method you choose.
12-14
servings40
minutes60
kcal6-12
Hours2+
Hours~10–12
HoursChatGPT said:
Thick, tangy, and creamy — this homemade Greek yogurt is simple, rich in flavor, and perfectly smooth with a hint of natural sweetness.
Ingredients
3800 g 1 gallon whole milk (preferably not ultra-pasteurized)
13 g 2 tbsp tapioca starch
60 g ¼ cup plain yogurt with live cultures (for starter)
Equipment
Directions
Before We Start
This is one where you want to make at the start or end of the day, so you have time to take it out when it is done. After the fermentation stage, you can leave it in the fridge overnight then strain in the morning.
Tapioca Starch: This ingredient does two things, improves texture and increases the yield per gallon of milk. Not required for yogurt making but a welcome addition. If you can’t find, just leave it out.
Choose a good yogurt starter: Use plain yogurt with active cultures—no flavors or thickeners. We like Siggis.
Prep the Thickener Mix
In a large pot on medium-high heat, add 1/4 cup of milk with the tapioca starch and whisk together. Once it reaches a boil, let the mixture cook until the mixture becomes gelatin like in texture, about 2-3 minutes.
Heat the Milk
Pour an additional 1/4 cup of milk and whisk until well incorporated. Then slowly pour in the rest of the milk while whisking the mixture to avoid clumping. Adjust the temperature to medium heat.
Slowly heat the milk to 180°F (84°C), whisking frequently to prevent scorching. Once it reaches temperature, set it to low and continue to whisk for 5 minutes.
NOTE:
It really only needs to be stirred occasionally at first, but once it gets past 130° F (55° C), it will need to be stirred more frequently and past 155° F (68° C), it will need stirred very frequently.
Cool to Incubation Temperature
Remove the pot from heat and allow it to cool to 110°F (43°C) or below.
You can speed this up by placing the large pot inside of a large bowl filled about half way with ice water. You can also use an empty sink, just ensure the water isn’t too high that it would spill into your pot.
Stir occasionally to prevent a skin from forming.
Add the Starter Culture
In a small bowl, mix ¼ cup of the cooled milk with the plain yogurt. Stir until smooth, then whisk that back into the full pot to distribute evenly.
Important: Do not add starter yogurt while the milk is above 110°F (43°C)—you’ll destroy the live cultures.
Ferment the Yogurt
Maintain 105–112°F (40–44°C) for 6-12 hours, using one of the following methods. Check the flavor profile after 6 hours. Longer ferments = more tang, so if you want it more sour then let it go a few more hours and taste again. Exceeding 12 hours at 110°F will likely result in an overly soured yogurt.
Option 1: Sous Vide
Transfer yogurt base to a vacuum-sealed or heavy-duty zipper bag. Submerge in a sous vide bath at 110°F.
If you have a large enough container you can also place the pot in the water and weigh it down, you just have to be very careful that the water in the sous vide bath, doesn’t spill into the pot or that the pot doesn’t float around in a way in which it might tip over.
Option 2: Yogurt Maker or Instant Pot
Use the built-in “Yogurt” setting, typically set to 110°F.
Option 3: Heating Pad
Place the pot directly on the pad. Insulate with towels or another heating pad. Check temp after a few hours. If it’s too hot (above 112° F), add a trivet of hot pad under it; if too cool (under 95° F), insulate further.
This method is less precise, but it works, so long as your heating pad can get hot enough to reach the temperature range. The timing may take longer depending on what your temp is. Don’t use a seedling mat here. It won’t get hot enough. Some reptile mats could work but a hot pad used for heating achy muscles is best since it typically reaches higher temps.
Option 4: Fermentation Chamber
Place the pot in a chamber set the temperature to 110°F.
Just Chill..till the next episode
Remove from the fermenting environment. Then refrigerate for at least 2 hours to fully set. You can also let it sit in the fridge overnight. This will help increase the yield of your yogurt.
Yes, that was a Dr. Dre / Snoop Dogg quoteStrain for Greek-Style Texture
Line a fine-mesh strainer or colander with cheesecloth or yogurt bag. Set it in a sink to drain.
You can also use a large pot, but here just needs to be enough clearance where the strainer isn’t going to end up being submerged in the drained liquid.
Pour in the chilled yogurt and let it strain at room temp or in the fridge overnight, until thickened to your liking. We like the consistency at about 8-10 hours.
Once your yogurt if done straining, transfer to clean containers and refrigerate. Note that it will thicken slightly in the fridge after straining at room temp, after it has chilled fully.
Yogurt can last up to a month in the fridge. See additional details below on signs of spoilage.
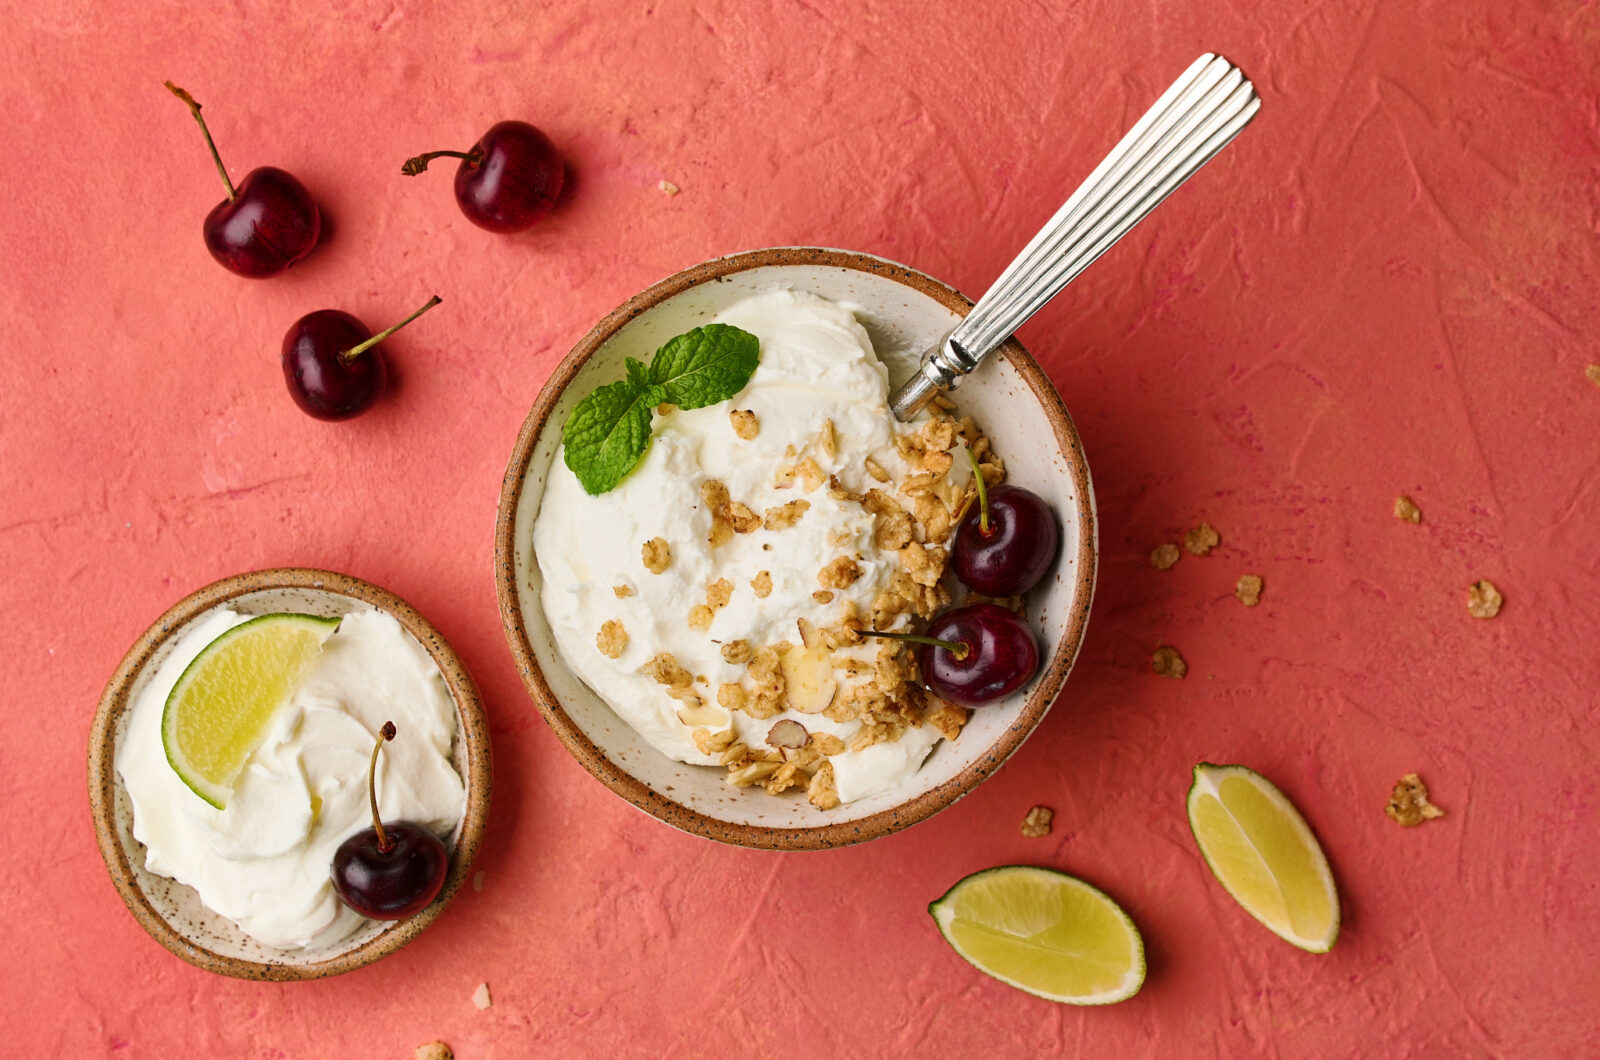
Top and Enjoy
Enjoy your yogurt at is, use it for making sauces or top it with honey, lime juice, cherries, granola, and mint for a delicious yogurt breakfast.
You May Like These Recipes Too

Additional Details About This Recipe
How long does this yogurt last in the fridge?
Homemade yogurt can easily last up to 3–4 weeks in the fridge if stored in a clean, airtight container. It typically stays safe much longer as long as it smells fresh, doesn’t develop mold, and hasn’t separated excessively.
Signs it’s gone bad include:
A chunky or overly watery texture that doesn’t recombine when stirred
A sour or “off” smell that’s sharper or unpleasant compared to its usual tang
Visible mold or pink/orange discoloration
Can I freeze homemade yogurt?
It can be made into a creamy frozen dessert by freezing. Don’t try to thaw it though. That’s just…why?
Is straining necessary for Greek-style yogurt?
To call it Greek yogurt, yes. Straining is what makes it Greek yogurt.
The tapioca starch does help create a thicker body than usual for the yogurt. So straining is optional, but it’s no longer considered Greek yogurt, its just yogurt.
Can I double this recipe?
You can, as long as your pot and fermentation setup can handle the volume. Heating and cooling will take longer.
Nutritional Facts
(Serving size: ¾ cup (170 g)
Calories: ~130 kcal
Protein: ~11–12 g
Total Fat: ~7 g
Saturated Fat: ~4.5 g
Carbohydrates: ~5 g
Sugars: ~5 g
Calcium: ~200 mg
Sodium: ~80 mg